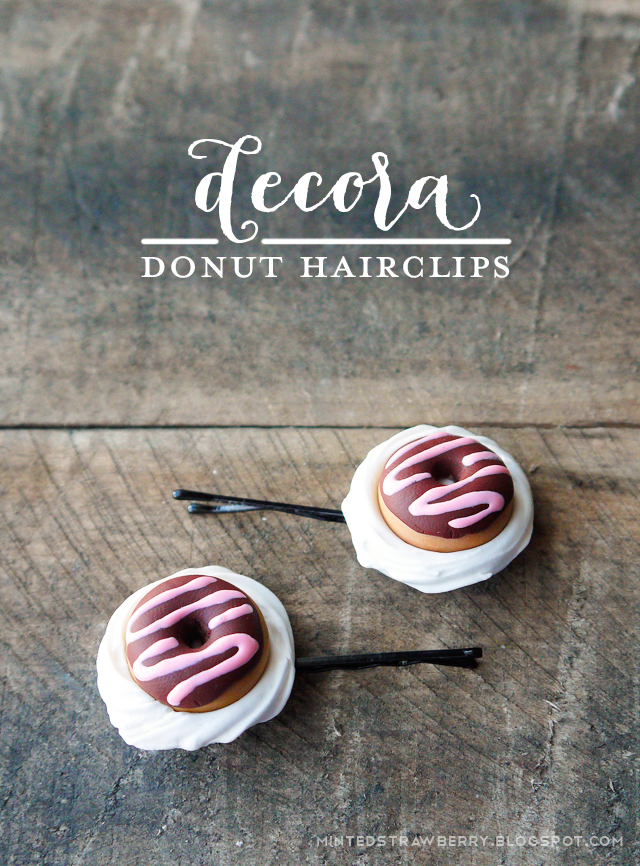
This post is sponsored by Plaid Crafts and Blueprint Social. I have been compensated for this post, but the opinions, ideas and crazy notions are all 100% mine.
Collage Clay is perfect for decoden accessories - and for people who don't know, Decoden is the art of decorating phones (and almost anything now, I guess) with 3d items, mostly sprinkles, beads, bears, cute things, buttons, etc. It's the perfect accessory for decora fashion.
Supplies:
- Mod Podge Collage Clay
- Collage Drizzle Paint
- Polymer clay
- Soft pastels
- X-acto knife / Box cutter
- Scissors
- Pencil
- Hairpins
- Felt
- Hot glue gun
First, roll your tan clay into a ball shape. Flatten it a bit until you get your desired donut height. Puncture the middle with a pencil to create the donut hole - you'll want to wiggle it around to get a bigger donut hole.
Give your donuts a fried/baked look by coloring it with some soft pastels - scrape a bit of pastel with your x-acto knife, and use a brush to dust your unbaked clay with it.
Now add the icing - roll a tiny bit of brown clay (or whatever icing color your prefer) and flatten it until it's thin, put it on top of your donut, mold it with the donut shape.
Poke the center with a pencil again to make it go inside the donut hole you've created. Bake your donut according to the baking directions on your polymer clay package.
Poke the center with a pencil again to make it go inside the donut hole you've created. Bake your donut according to the baking directions on your polymer clay package.
After that's cooled, make some drizzles using Collage Drizzle Paint. I wanted strawberry drizzle for my donuts so I used the pink drizzle paint. Wait for that to dry.
Next, using the star tip, pipe out your Mod Podge Collage Clay - I love that this was so easy to work with! - much like decorating a cupcake. Add your donuts in the middle, pressing them in to spread out the collage clay.
I piped out my clay on the waxy side of sticker paper backing so it'll be easier to peel them off (with the help of a spatula) when they dry.
Cut a piece of felt and sandwich it between the prongs of your hairpin, and hot glue the back of your collage clay donuts onto the felt. And you are done!
This project was so easy that I made some more - using crackers this time (tutorial on how to make the crackers soon). You can also make other embellishments using Mod Podge's mod molds - I used the Alphabet mold to create the 'Cute' hairpin. :) And of course, who can resist cream icing?
Some other examples of what you can do with Collage Clay. Learn more about the product here. I am not kidding you, I love this product and will continue to buy more of it. You can get them at Michaels. Please be reminded that since this product looks like icing, they are not, and therefore Collage Clay is not recommended for children ages 12 and under, and the product is not edible. Small parts are a choking hazard for children.
Want to win a prize pack from Plaid that contains Collage Clay, Drizzle paint and more? Don't forget to enter the contest using the widget below!
Check out what other bloggers did with Collage Clay below!
And don't forget to follow Plaid for more awesome stuff:


SO CUTE!! Love the little donuts.
ReplyDeleteThanks Heather! They were a blast to make. I've made about 6 more after I made this project. Haha!
Delete