Showing posts with label sponsored. Show all posts

October 8, 2014

Free Printable: Halloween Candy Baskets with Dollar Tree's Anniversary Celebration

This post has been sponsored by Dollar Tree and Blueprint Social. All opinions and ideas are my own.

I love to stalk the aisles of Dollar Tree to find inexpensive buys – most particularly the crafting stuff, home goods, gift wraps and stationery as well as the candy. I've had a couple of posts featuring Dollar Tree items, like this pair of skull earrings for Halloween. With Dollar Tree's Anniversary Celebration I thought it was time to stock up on candy to make these simple candy baskets perfect for Halloween!

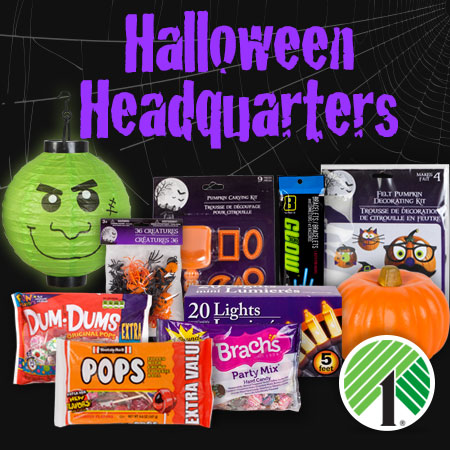


More products are available to purchase with Bonus Buys of up to 58% more free for each item. Yep – some items (brand name ones as well) will be available in bigger quantities for a limited time, and still only for $1 each. So what items, you say? Well, there are a ton! Home decor (Dollar Tree has an awesome lot of DIY-able decor), health and beauty items (like nail polish sets - you guys know I love me some nail polish), snacks and sweets (perfect for stocking up for Halloween), household staples and so much more. You can get more details here on their website.


I do love some of their Halloween stuff, they’re pretty inexpensive and totally hackable/DIY-able (like my aforementioned skull earrings). Yep, that was Dollar Tree material right there. They also have paintable and carvable craft pumpkins, perfect for craft activities with the kids, or spruce them up for fall decor. 


So yeah – I thought it was time to stock up on candy to make these adorable candy baskets/containers to give out for Halloween – doesn't hurt to prepare early, no?


For this project, I bought some cute little baskets from Dollar Tree, spray painted them in matte black, filled them halfway with shredded paper and arranged candy and goodies on top. I also added burlap trim around, but jute twine is also a good idea. To make it extra special, I added a graveyard backdrop that I cut with a digital cutting machine. Then I created this printable to make it cuter. Don't forget to download yours at the end of the post, as well as the template for the gravestone background!


I really love that Dollar Tree has a ton of unique items – you can even make something similar to give to co-workers for Christmas! Change them up by making a spa kit, a movie snack kit or anything your giftees love. I guess you have to stock up for that as well, right? What do you usually buy at Dollar Tree? Don’t forget to follow them on social media:
"

January 19, 2014

DIY: Rearrangeable Magnetic Board + A Consumer Crafts Prize Pack Giveaway!


This post and giveaway has been sponsored by Consumer Crafts. I was provided some of the materials for the post.
Everybody seems to want to organize in the first month or so of a new year. I seem to have that urge too, albeit a bit late. This was relatively easy and inexpensive - I found my magnet board a few months back at Target for just a dollar. Also, since it was relatively small (a bit bigger than letter-sized paper), it fit just right into my desk set-up, which was a good thing for me (since I like things being within reach). Check out the tutorial plus enter to win an awesome prize pack from Consumer Crafts!


Supplies needed:
Magnetic Board
Spray paint
Pretty wrapping paper
Magnets


If you have a printed magnetic board like I did, spray paint that with the color of your choice. To go with my pretty wrapping paper (which I got after Christmas at Target), I sprayed mine gold. While that's drying, cut down your paper to the size of your magnetic board. Mod podge it to your board when it's ready. Mod podge it again and seal with a clear acrylic coating to make it more durable.


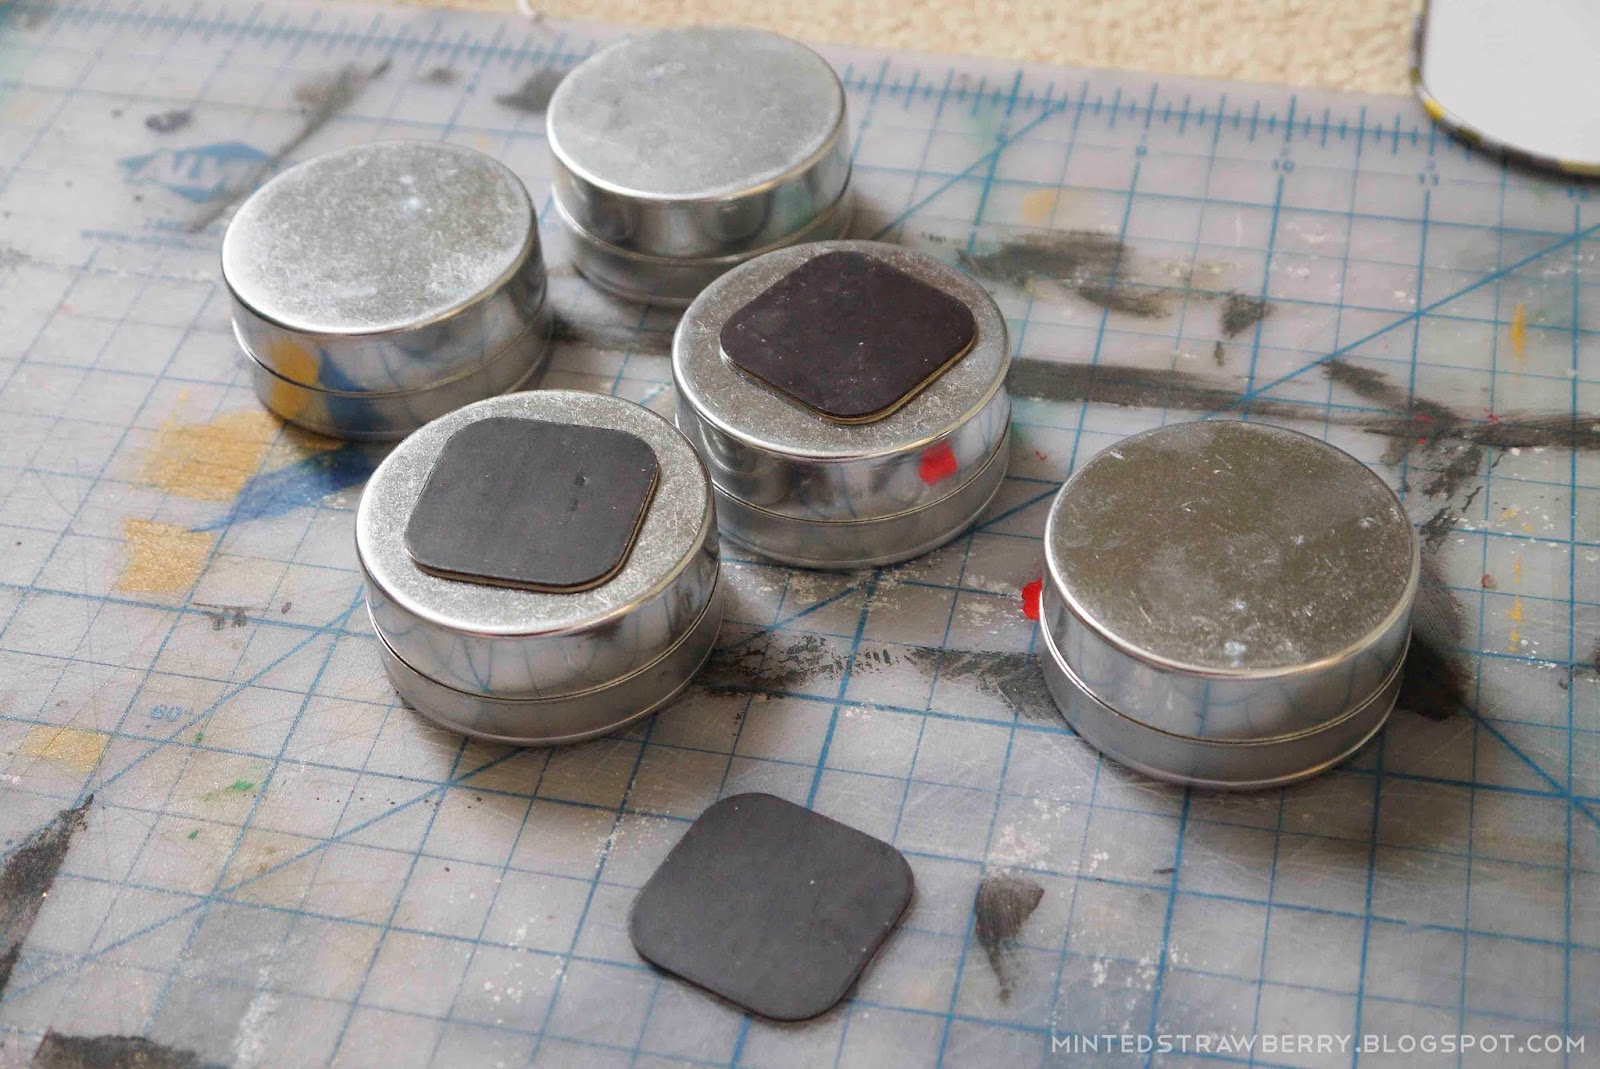
Get your tins and attach magnets on their bottoms. Why need tins? Well, I wanted something to hold my plethora of tiny desk accessories. :3


I used mini chalkboard tags as my header markers.


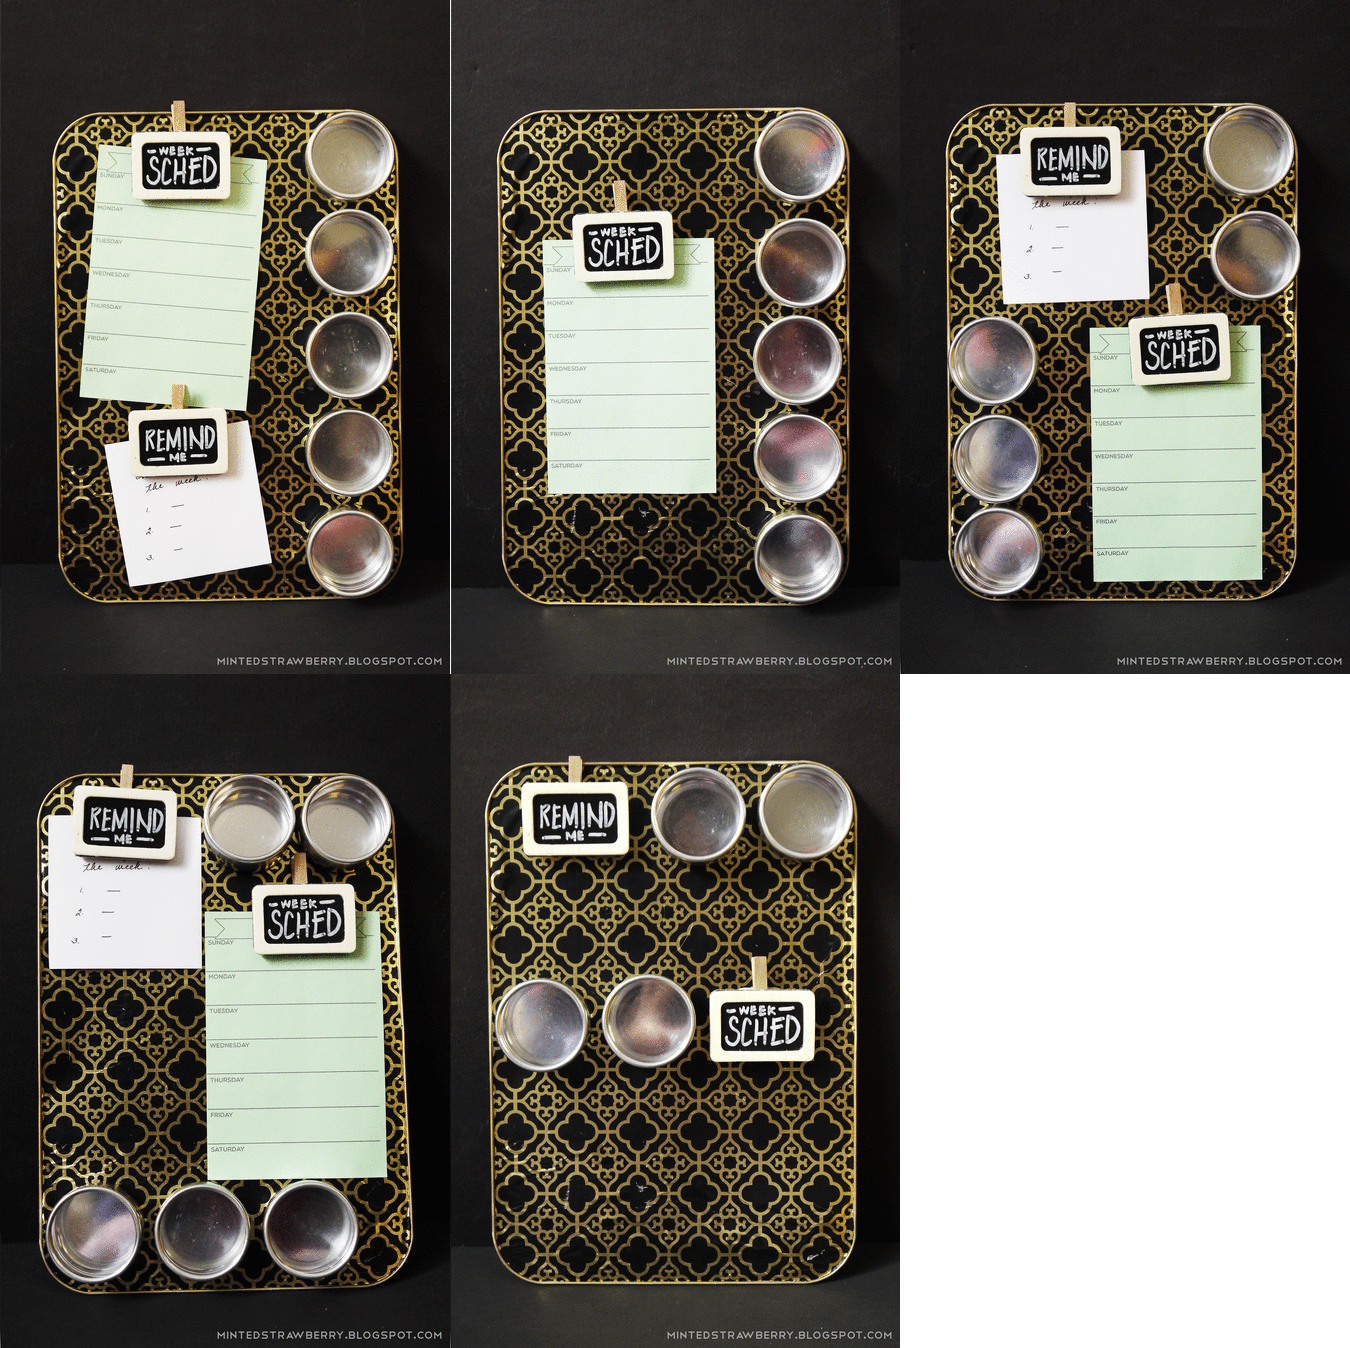
I hot-glued magnets on the backs of the clips. These are handy as I can use the clips to hold notes and paper (I like writing my schedule for the week down on a piece of paper as opposed to a planner sometimes so I'll actually see it). 


Then all that's left is just arranging them onto your board. I love the fact that it's very versatile and I can add/remove elements as needed. 


Want those tins and those adorable little chalkboards? Win those and more by entering below!

a Rafflecopter giveaway

Also, don't forget to visit these blogs for other ways to organize your year! Click on the photos below to be redirected to their lovely blogs.

DIY Mini Tin Calendars from A Nest for All Seasons
Menu Planning with Washi Tape from Onelmon

Memo Washi Tape Flags from Agus Yornet
10 Travel Uses for Favor Tins from North Story
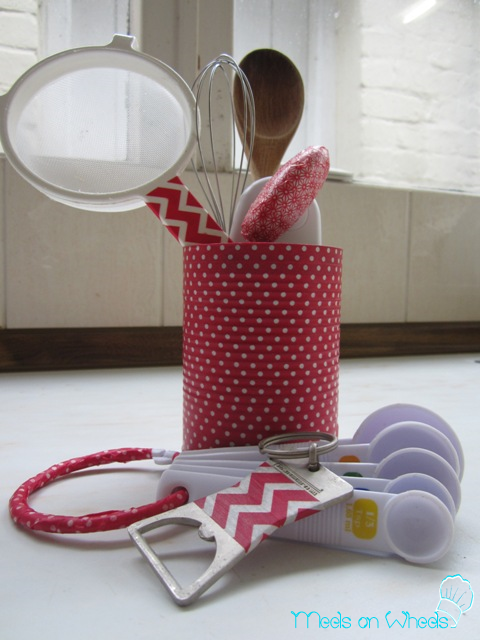
Washi Tape and Metal Tin Organization from Meels on Wheels
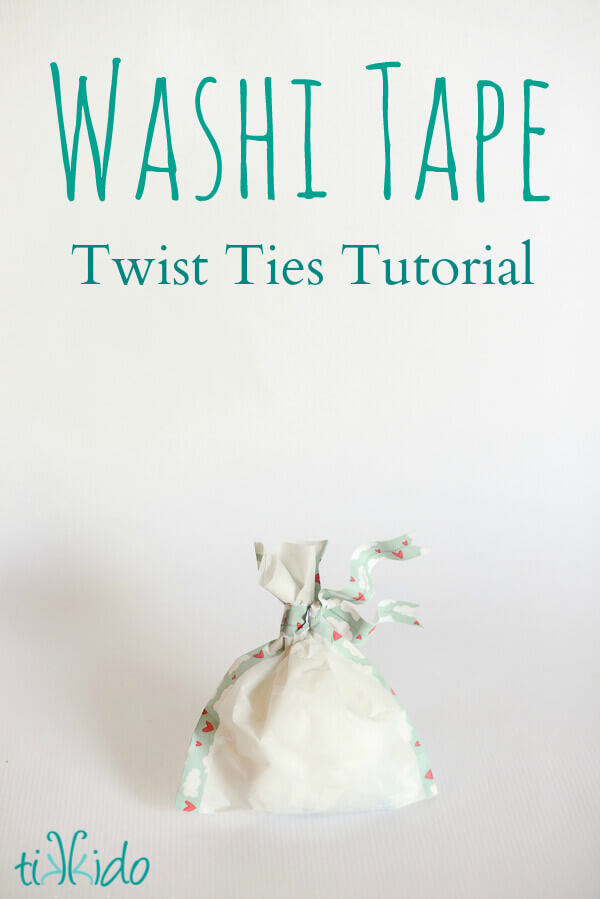
Washi Tape Twist Ties from Tikkido
Good luck and happy crafting - hope you guys win! :3

Linking up here:
 
"

June 19, 2013

DIY: Beehive-Pattern Photo Display - A Shutterfly and Looksi Campaign

This post has been sponsored by Shutterfly and Looksi Square. 
Yes folks, my first sponsored post! From here on, all my sponsored posts, reviews and product giveaways (if there will be any) will be hosted on this second site.

If you've been given free prints, what are you going to do? I was recently given some free prints by Shutterfly & Looksi for their campaign entitled 'What Can You Do With A Print?' With printed photos, some creative cutting and a few other materials, you too can make this Beehive-patterned photo display.


So, again, I ask you, what are you gonna do if you're given free prints? 


I was mulling around a few ideas before settling into this. Why this? 
Well, first of all, I was really apprehensive of cutting photos that I paid for printing - I know, I'm kinda stingy like that. So this was the perfect opportunity to experiment on something - I totally didn't know how this was going to turn out but I like it. 
Second, I am in love with that beehive pattern right now and I wanted to incorporate it to my room decor. 
Third, I wanted more photos of me and my future-hubs on display, but I didn't want a traditional-looking one.  

Okay, enough chatter. If you wanna make something like this, here are the things that you will need:
Photos - in black and white looks best, but in hindsight, I should've edited the photos and put a common filter over them before having them printed. It would've probably looked better.
Template - you can make your own, or download mine from here. Fits 4" x 6" photos (or bigger).
Scissors
Pen
Hot glue
Foam board - in white, preferably 
Fabric covering of choice
Black paper

Get your photos ready. Print your template (get it here) or make your own. In total I had 15 grayscaled photos. You might want to add 2-4 more depending on your preference on the hexagons cut in half to put at the top and the bottom. 
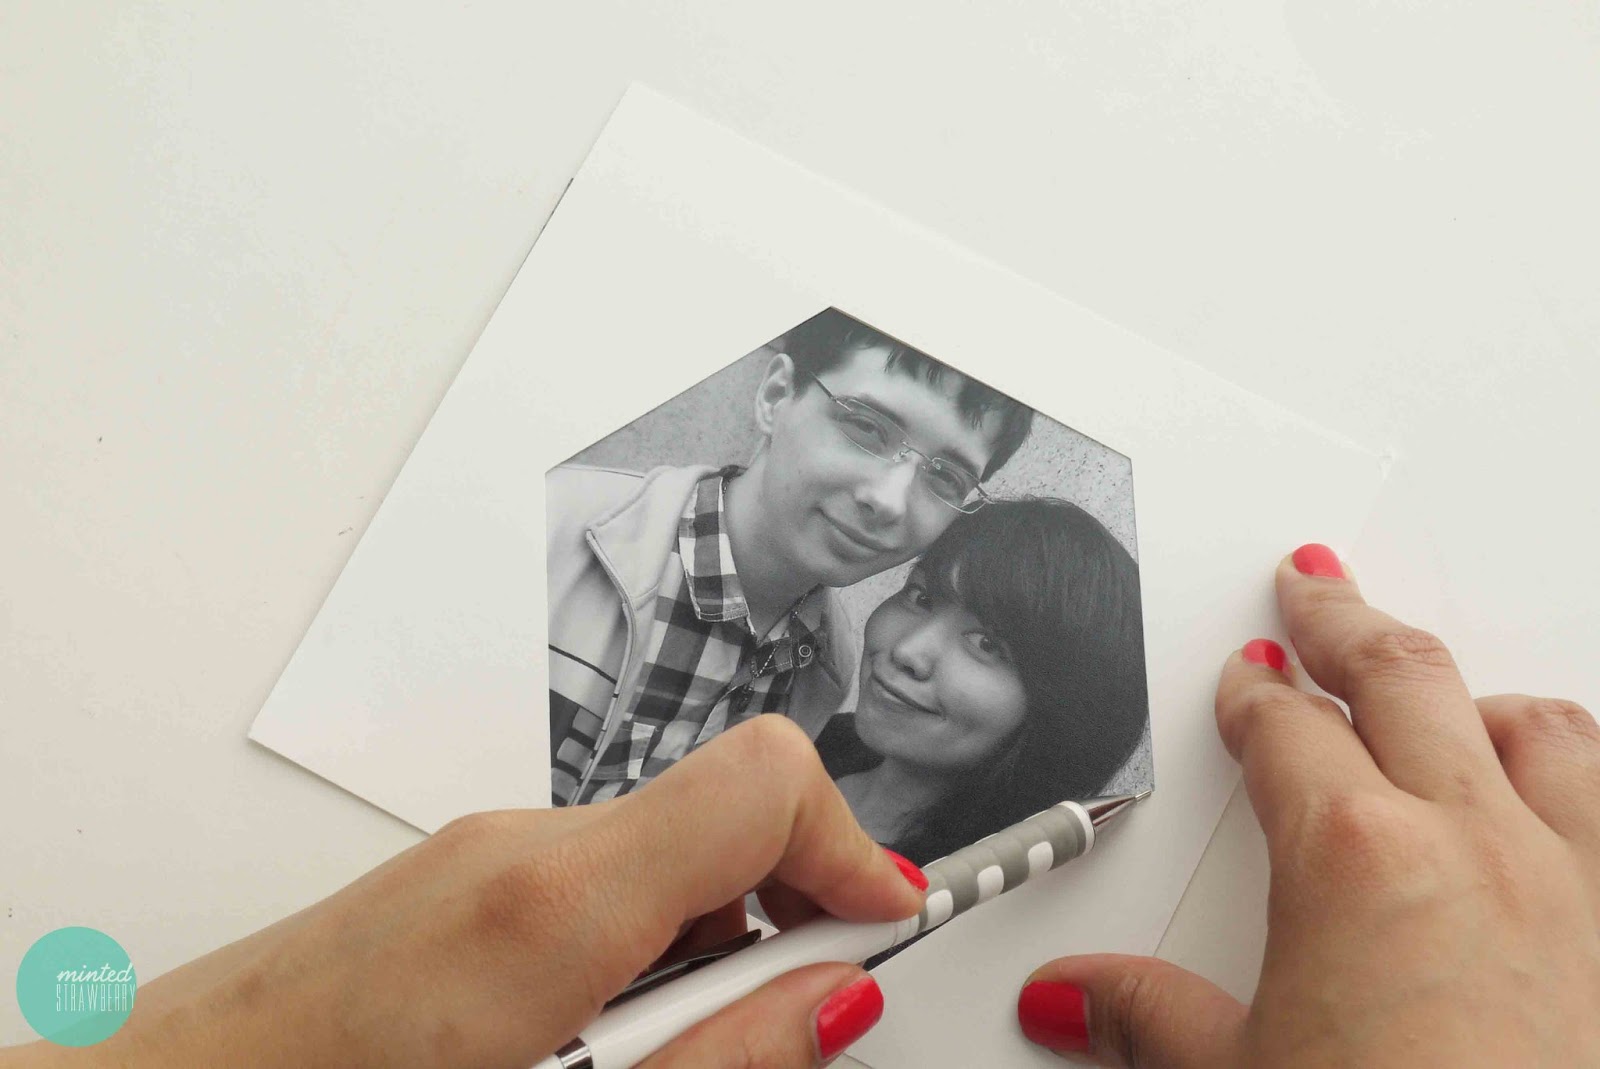
Put your template over the photo and then trace, centering your desired image. The template that I've provided will hit the top and bottom of your 4" x 6" photo so you only have to trace side guidelines.

Using your guideline, cut up your photo into a hexagon shape.

Now, take your foamboard and cover that in your fabric of choice. Always remember to iron your fabric before covering something with it - you don't want your project to end up having tons of wrinkles, right? We're aiming for perfection here people. Haha!

Layout your photos and gauge how far apart they'll be. When you're happy with your layout, glue them down. I suggest gluing down the left side first, measuring every now and then for straightness. Work your way to the right, starting with the top and bottom ends of each column each time. Was that confusing? Haha, sorry! Anyway, I used white glue to stick my photos down. It's easier to move them if you're not happy with the placement. I put that 'For Like Ever' hexagon highlight cause I thought it would look cute. It's also in the template download, so get that there if you want it too. :) 

Aaaand there you have it! I love that it's simple and unique at the same time. Don't you?

Please excuse our derpy faces and the subpar quality of photos! Hahaha.
So folks, there you have it. Would you make something like this? What do you think would make this better? Of course leave me your thoughts in the comments box as always and I hope you have a lovely lovely day. :)


Looksi and Shutterfly have invited me to participate in a creative brand collaboration.  I have been provided with product compensation for this post, but all opinions are my own.


"
Join me on Facebook Follow me on Pinterest Follow me on Google+ Follow me on Bloglovin Follow me on Instagram Follow me on Twitter Subscribe to RSS