Showing posts with label decor. Show all posts

November 4, 2014

DIY: Fall Tablescape Touches with Vagabond House

This post has been sponsored by Vagabond House, but all opinions and ideas are my own.

I'm delighted to share with you some easy tablescape touches for your place settings, fall decor or your Thanksgiving feast. I've also included some of my favorite pieces from Vagabond House - so sit back, relax and enjoy the show.


It's so easy to set-up a simple, rustic fall tablescape. You just need a few key ingredients - wood, burlap and some gold touches (or maybe another color you'd like?).  


Let me break down how easy it is to make this place setting:


For the leaves, it's easy to sketch a pattern and cut it out by hand, or get a free pattern online (there are tons I tell you), print and cut it. If you're doing a ton of them, it would be handy to have a die-cutter on hand to make them. 


Write the names of your guests on the leaves - if you aren't comfortable with your handwriting, it helps to write it with a pencil first before going over it with ink. Alternatively, you can use gold ink instead of black to add to the gold accents on your table.


It is soooooo easy to make these fall picks! You just need berries, decorative gold sprigs and burlap. I found the berries at Target and the gold sprigs at Dollar Tree (I dismantled one of the Christmas picks they had just to get the gold sprigs). 


Arrange them, and wrap the stalks with some burlap. Glue the edge of the burlap to prevent unraveling. 


Lastly, you need a napkin ring - I chose this pewter acorn and oak leaf napkin ring from Vagabond House at it can easily be dressed up for Christmas as well. 


Insert your napkin into the ring, and then insert your fall pick and finally the leaf place card holder. And you are done! Now let me show you other things I have found at Vagabond House to accentuate your tablescape:


This pewter white oak plate is perfect as a candy dish or a condiment dish. It can easily transition as Christmas decor as well, or even serve as a jewelry dish for your lovely adornments. 


Now onto one of my two favorite pieces - here is my AMAZING cake stand. Well, it's supposed to be a cheese stand, but it can serve a lot of purposes - as you can see here. I love using it as a cake/dessert stand instead and it's pretty big too. It's pictured here with my favorite lemon tart from Trader Joes. I guess the tart is about 8", so it has plenty of room for bigger cakes, and tiered cakes as well. It's the perfect woodland accent to a rustic wedding!


Look at the detail on this little guy! It's just so cool. This must be the most-loved cake stand I have in my collection of cake stands. 


Here's my next favorite - an elk liquor decanter. I must say this is one unique piece that I'll treasure forever. I know liquor bottles look fancy in the first place, but this one just takes it up by a really big notch. 


Again, the detail is fantastic. I can say it's a great gift for a guy who enjoys hunting/liquor/woodland items. There are a ton of those, right? I know a few. :) I chose these pieces because I wanted fun, unique conversation-starting pieces in my home. Vagabond House has a ton of unique pieces - it took me a long time to choose which ones I liked the most. 


With a vision of what you like and the right decor, it's so easy to set up a simple, rustic tablescape for your Thanksgiving dinner or any other gathering. Need more inspiration? Here are other awesome ones you can gawk at for your tablescaping needs:

Peacock Salt Cellars, Pink Salt and a Picnic from A Nest for All Seasons

As always, have fun! :)

"

June 19, 2013

DIY: Beehive-Pattern Photo Display - A Shutterfly and Looksi Campaign

This post has been sponsored by Shutterfly and Looksi Square. 
Yes folks, my first sponsored post! From here on, all my sponsored posts, reviews and product giveaways (if there will be any) will be hosted on this second site.

If you've been given free prints, what are you going to do? I was recently given some free prints by Shutterfly & Looksi for their campaign entitled 'What Can You Do With A Print?' With printed photos, some creative cutting and a few other materials, you too can make this Beehive-patterned photo display.


So, again, I ask you, what are you gonna do if you're given free prints? 


I was mulling around a few ideas before settling into this. Why this? 
Well, first of all, I was really apprehensive of cutting photos that I paid for printing - I know, I'm kinda stingy like that. So this was the perfect opportunity to experiment on something - I totally didn't know how this was going to turn out but I like it. 
Second, I am in love with that beehive pattern right now and I wanted to incorporate it to my room decor. 
Third, I wanted more photos of me and my future-hubs on display, but I didn't want a traditional-looking one.  

Okay, enough chatter. If you wanna make something like this, here are the things that you will need:
Photos - in black and white looks best, but in hindsight, I should've edited the photos and put a common filter over them before having them printed. It would've probably looked better.
Template - you can make your own, or download mine from here. Fits 4" x 6" photos (or bigger).
Scissors
Pen
Hot glue
Foam board - in white, preferably 
Fabric covering of choice
Black paper

Get your photos ready. Print your template (get it here) or make your own. In total I had 15 grayscaled photos. You might want to add 2-4 more depending on your preference on the hexagons cut in half to put at the top and the bottom. 
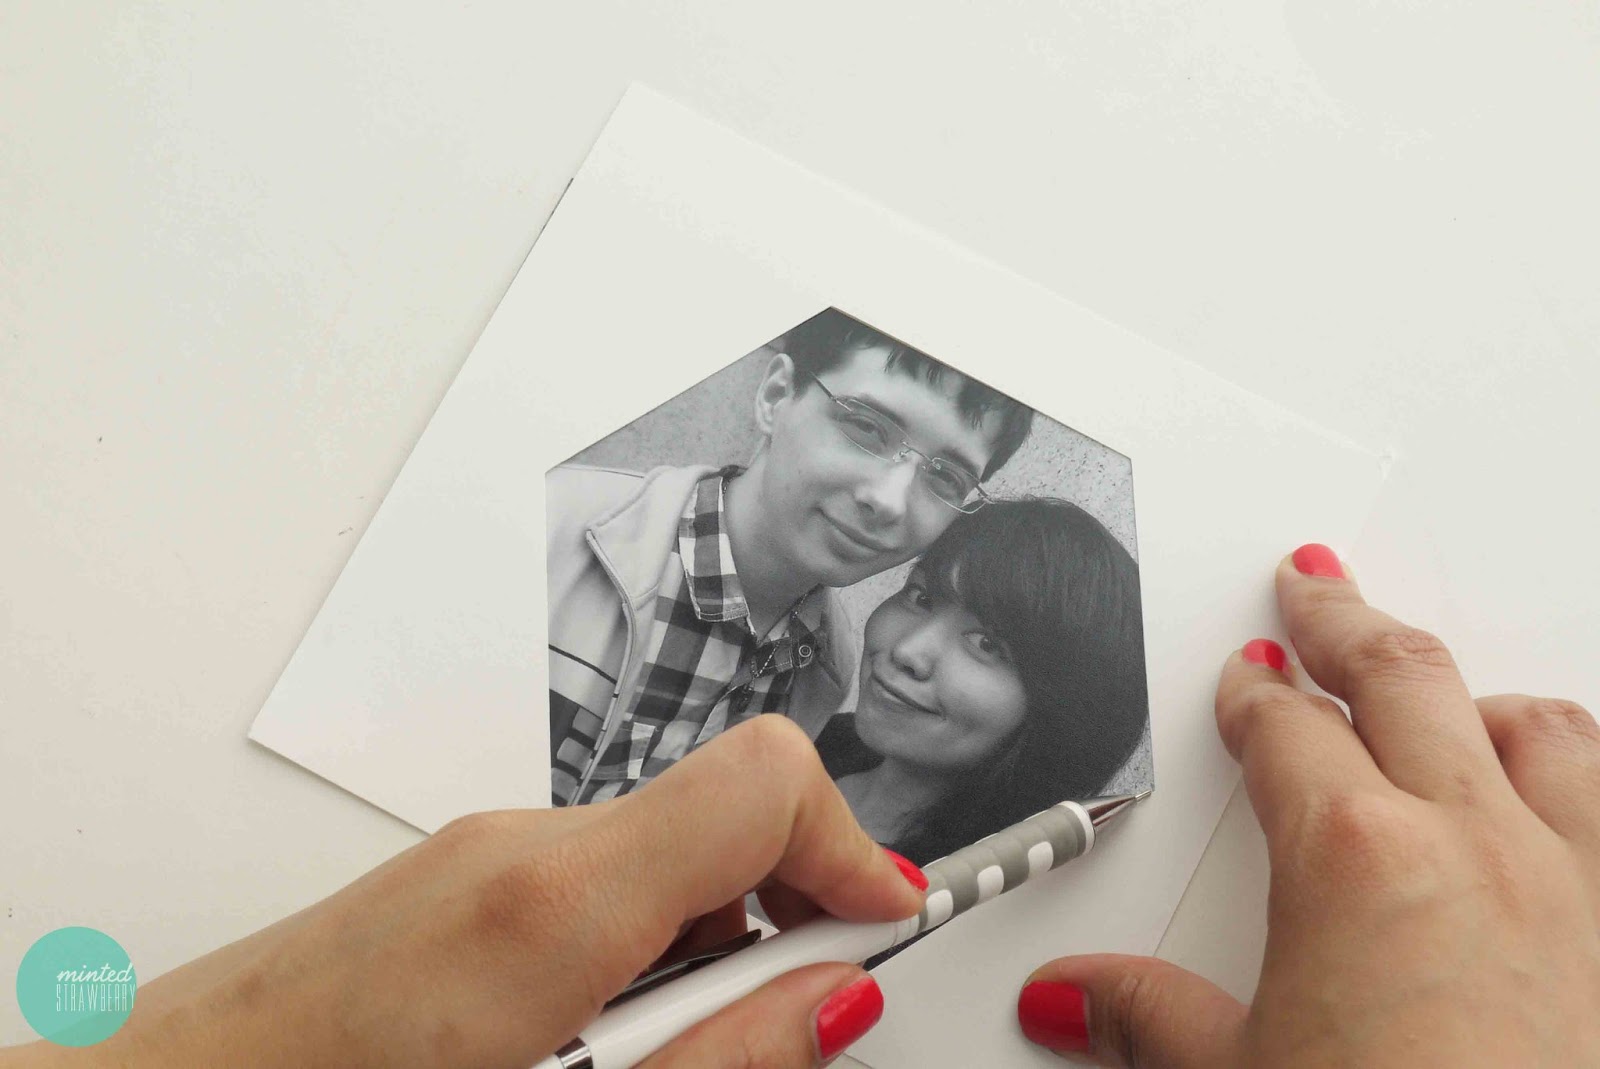
Put your template over the photo and then trace, centering your desired image. The template that I've provided will hit the top and bottom of your 4" x 6" photo so you only have to trace side guidelines.

Using your guideline, cut up your photo into a hexagon shape.

Now, take your foamboard and cover that in your fabric of choice. Always remember to iron your fabric before covering something with it - you don't want your project to end up having tons of wrinkles, right? We're aiming for perfection here people. Haha!

Layout your photos and gauge how far apart they'll be. When you're happy with your layout, glue them down. I suggest gluing down the left side first, measuring every now and then for straightness. Work your way to the right, starting with the top and bottom ends of each column each time. Was that confusing? Haha, sorry! Anyway, I used white glue to stick my photos down. It's easier to move them if you're not happy with the placement. I put that 'For Like Ever' hexagon highlight cause I thought it would look cute. It's also in the template download, so get that there if you want it too. :) 

Aaaand there you have it! I love that it's simple and unique at the same time. Don't you?

Please excuse our derpy faces and the subpar quality of photos! Hahaha.
So folks, there you have it. Would you make something like this? What do you think would make this better? Of course leave me your thoughts in the comments box as always and I hope you have a lovely lovely day. :)


Looksi and Shutterfly have invited me to participate in a creative brand collaboration.  I have been provided with product compensation for this post, but all opinions are my own.


"
Join me on Facebook Follow me on Pinterest Follow me on Google+ Follow me on Bloglovin Follow me on Instagram Follow me on Twitter Subscribe to RSS