Showing posts with label magnet. Show all posts

July 7, 2014

DIY: Dress-up Activity Magnets + A Giveaway!

This post has been sponsored by Silhouette America - I have been provided materials for this post - but don't worry, all ideas/comments/crazy notions are mine, always. :)

Summer is a lot of fun, but it can be boring most times (especially for kids). When my siblings get bored, they'd get really cranky, roll around the carpet and yell 'I'm boooooreeed'. Naturally, my mom tries to keep them busy by enrolling them in various summer activities like swimming, tennis and piano lessons and some planned trips. We needed a way to track who's doing what, but I wanted it to be fun-looking. Silhouette has sent some blogger friends and me a bunch of Silhouette goodies for a challenge post, so with the help of my trusty Silhouette I decided to make some people-shaped fridge magnets. Aren't they the cutest?!


What's needed
  • Silhouette Adhesive Magnet paper
  • Template (download mine at the end of the post)
  • Flesh-colored paper
  • Printed scrapbook paper
  • Silhouette Washi sheets
  • Silhouette Fabric interfacing
  • Fabric
  • Iron

First off, cut your magnet paper - I provided a free download to the figures I used at the end of the post (please note that these files are for personal use only!). I was able to cut this many in one sheet of magnet paper with the shortest person figure at 2.5". 


Next, cut your flesh-colored paper, peel the wax paper off the magnet paper and stick the flesh-colored paper onto the magnet paper. This took me a while since I wanted them to line up exactly (I am very OCD with these things...) 

Now you just have to cut up the clothes for each member of the family:


You can use normal scrapbook paper - just cut them up and stick onto the magnet sheet. 


You can even make matching clothes for the family!


Or washi paper. With washi paper, it always helps to have another layer of paper underneath (because washi sheets are a bit transparent). Btw, I love the patterns on the Silhouette Washi sheets. 


You can also use fabric! Just use some fabric interfacing (for these ones I used Silhouette fabric interfacing) before cutting and you're good to go. Also, you might want to seal the edges with glue to stop future fraying.


Now all that's left to do is stick them onto your fridge and dress them up however you like! It can also be used as a boredom buster for smaller children - much like paper dolls. We are a family of six so I made six figures. 


I also made ones with holes in the head part to make picture people. I just love these so much that it makes me giggle every time I see them - although I haven't found the right picture to use yet.


You can also cut up hair for them, or embellish them anyway you like. I plan on making magnetic hair for them as well - but that's for another day :D 


Aren't they just awesome?! You can vote for which project you like the most - they're all awesome, but vote anyway :D We also have a really fun giveaway for you guys - one lucky reader is going to win a box of Silhouette goodies just like the ones sent to us. So enter now!


What do you use to keep track of your summer family activities? Hope you have a great week friends!

DOWNLOAD HERE


"

January 19, 2014

DIY: Rearrangeable Magnetic Board + A Consumer Crafts Prize Pack Giveaway!


This post and giveaway has been sponsored by Consumer Crafts. I was provided some of the materials for the post.
Everybody seems to want to organize in the first month or so of a new year. I seem to have that urge too, albeit a bit late. This was relatively easy and inexpensive - I found my magnet board a few months back at Target for just a dollar. Also, since it was relatively small (a bit bigger than letter-sized paper), it fit just right into my desk set-up, which was a good thing for me (since I like things being within reach). Check out the tutorial plus enter to win an awesome prize pack from Consumer Crafts!


Supplies needed:
Magnetic Board
Spray paint
Pretty wrapping paper
Magnets


If you have a printed magnetic board like I did, spray paint that with the color of your choice. To go with my pretty wrapping paper (which I got after Christmas at Target), I sprayed mine gold. While that's drying, cut down your paper to the size of your magnetic board. Mod podge it to your board when it's ready. Mod podge it again and seal with a clear acrylic coating to make it more durable.


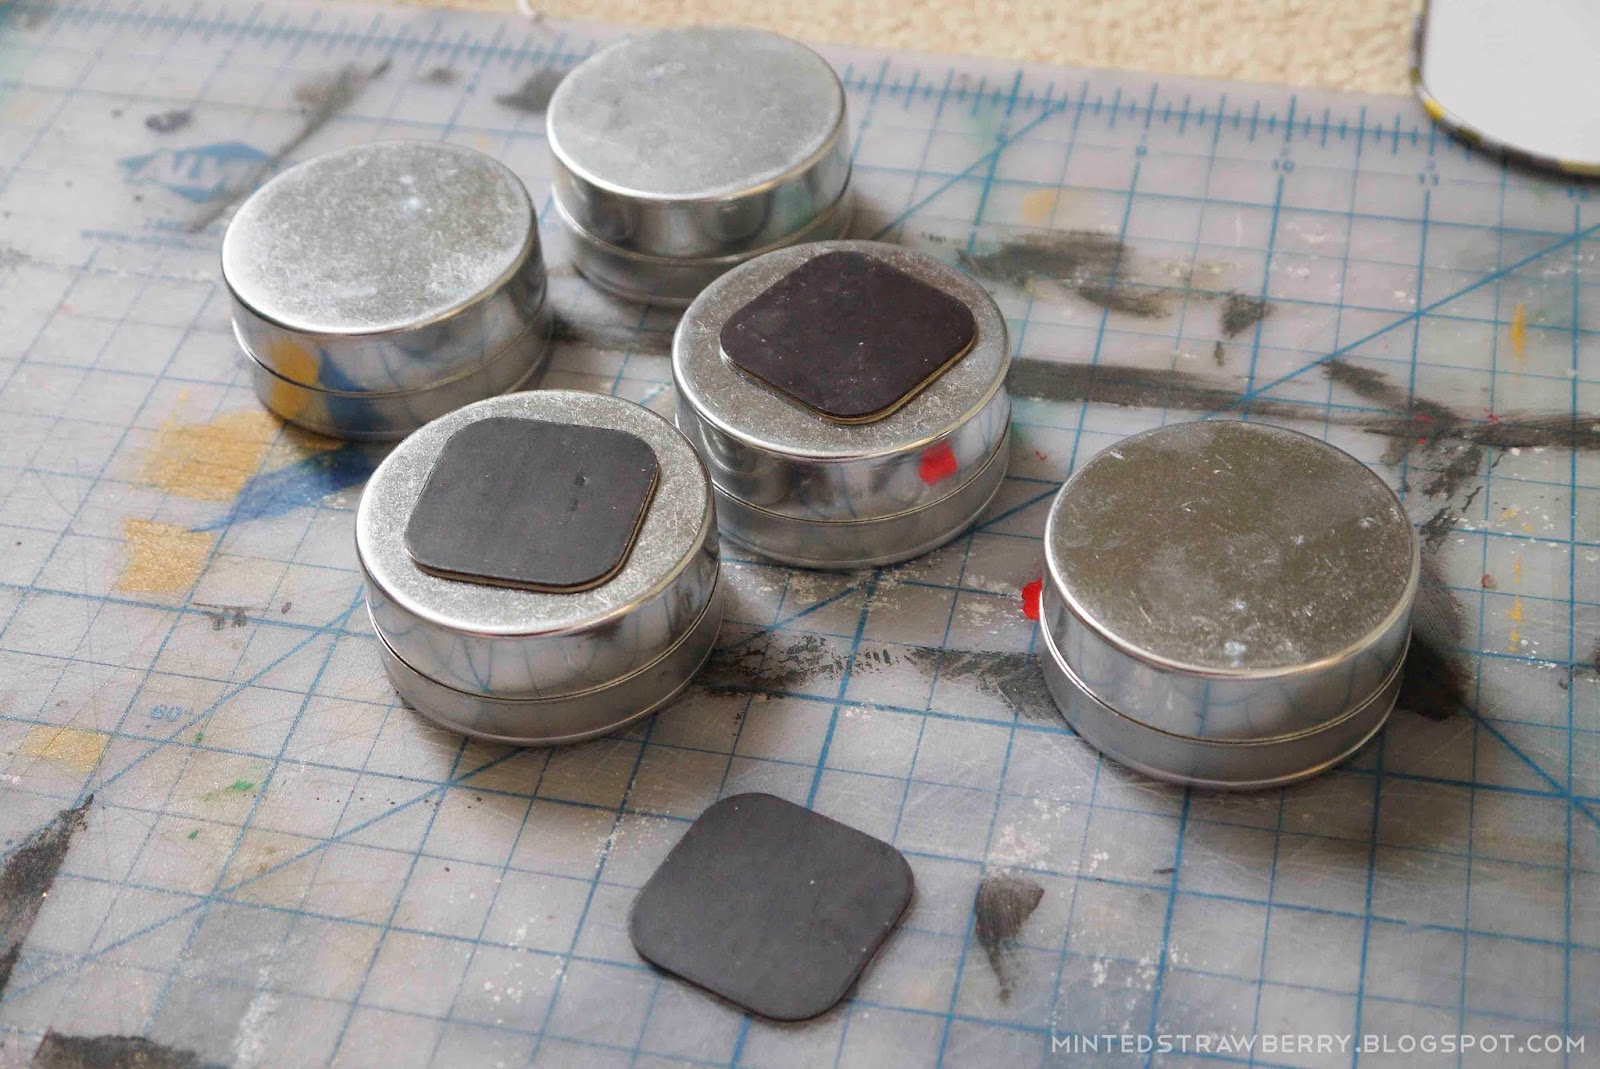
Get your tins and attach magnets on their bottoms. Why need tins? Well, I wanted something to hold my plethora of tiny desk accessories. :3


I used mini chalkboard tags as my header markers.


I hot-glued magnets on the backs of the clips. These are handy as I can use the clips to hold notes and paper (I like writing my schedule for the week down on a piece of paper as opposed to a planner sometimes so I'll actually see it). 


Then all that's left is just arranging them onto your board. I love the fact that it's very versatile and I can add/remove elements as needed. 


Want those tins and those adorable little chalkboards? Win those and more by entering below!

a Rafflecopter giveaway

Also, don't forget to visit these blogs for other ways to organize your year! Click on the photos below to be redirected to their lovely blogs.

DIY Mini Tin Calendars from A Nest for All Seasons
Menu Planning with Washi Tape from Onelmon

Memo Washi Tape Flags from Agus Yornet
10 Travel Uses for Favor Tins from North Story
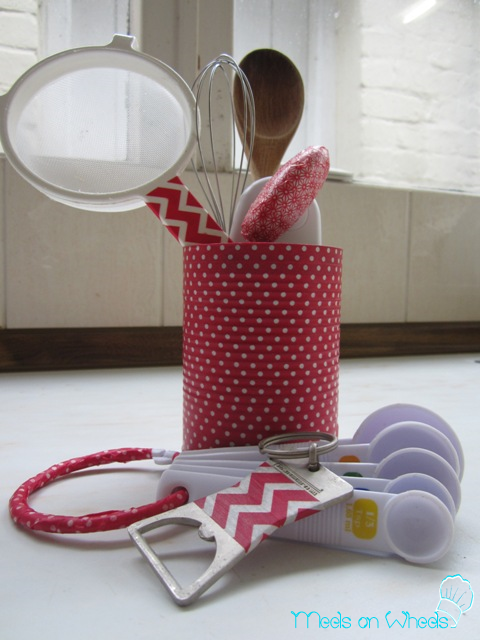
Washi Tape and Metal Tin Organization from Meels on Wheels
Washi Tape Twist Ties from Tikkido
Good luck and happy crafting - hope you guys win! :3

Linking up here:
 
"
Join me on Facebook Follow me on Pinterest Follow me on Google+ Follow me on Bloglovin Follow me on Instagram Follow me on Twitter Subscribe to RSS